Practicing yoga may relieve some painful endometriosis symptoms. Some poses that may help with endometriosis include Child’s Pose and Supine Spinal Twist.
While medical and surgical treatments for endometriosis are available, people with endometriosis may be able to manage their pain by practicing yoga.
This article explores some of the best yoga poses for endometriosis. Learn how yoga may help endometriosis pain, risks, safety tips, and how to perform each pose.
Endometriosis resources
Visit our dedicated hub for more research-backed information and in-depth resources on endometriosis.

Yoga is a practice that centers on movement, breathing, and meditation. Yoga styles range from gentle practices to physically demanding postures.
Research shows that people who practice yoga
Several studies also show that yoga can specifically help with endometriosis.
A small
More recently,
Experts believe that practicing yoga may affect the stress pathways that cause pain from endometriosis.
Risks and safety
Before starting any exercise, it is best to consult with a healthcare professional.
Some yoga poses involve deep stretches or twists that could cause strain. It is best for people to always listen to their bodies and modify poses as needed.
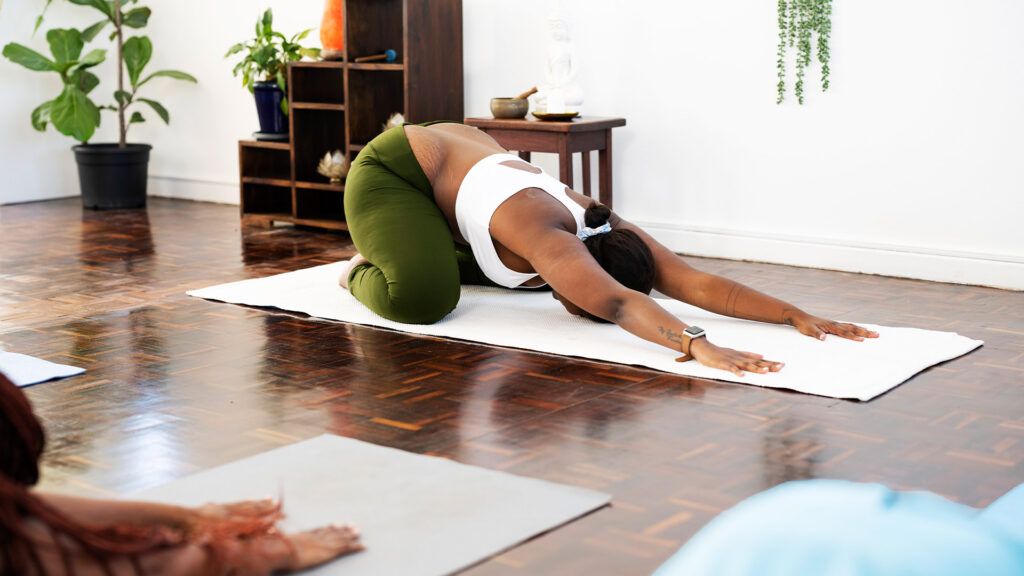
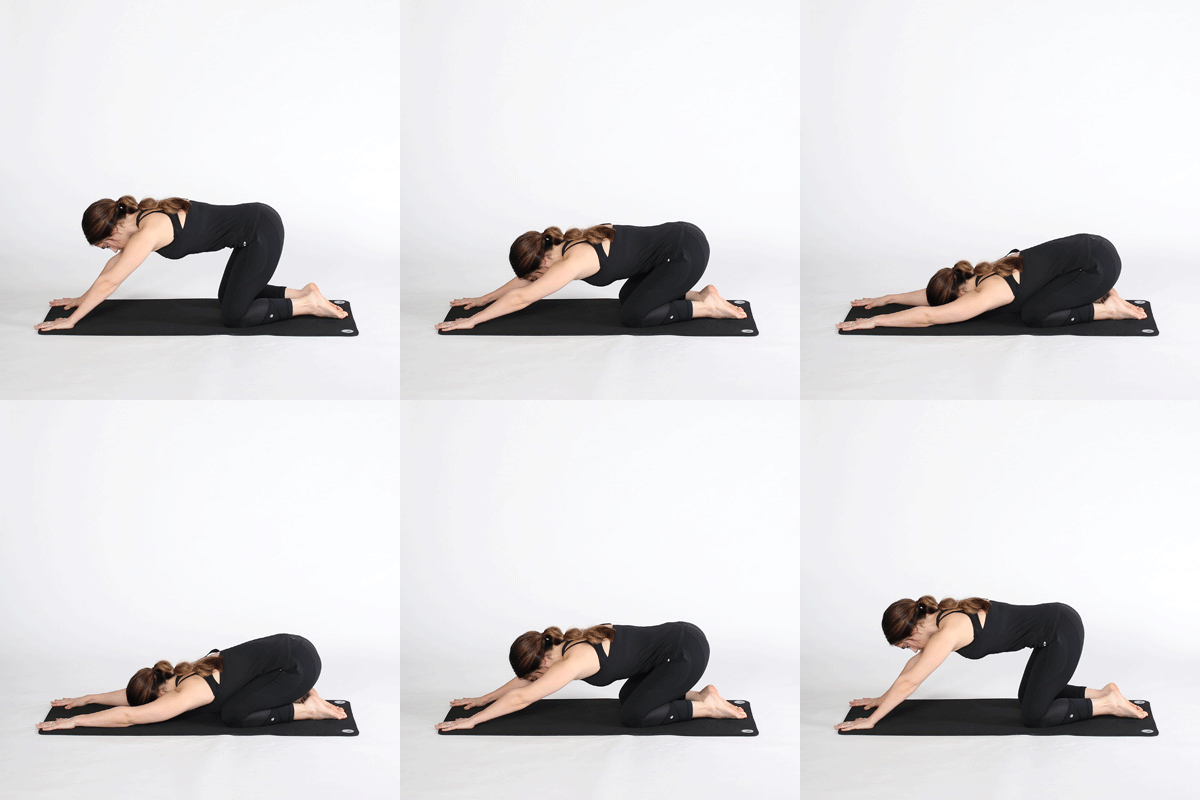
Child’s Pose, or Balasana, gently stretches the hips, knees, thighs, and ankles. Holding this pose helps increase blood circulation and calms the nerves.
To do Child’s Pose:
- Kneel down with the tops of the feet resting on the floor with the big toes touching, and sit back on the heels.
- Keep the knees together, or separate them to hip distance apart.
- Bend at the hips and slowly fold forward to rest the torso on the thighs or between the thighs if the knees are wide.
- Stretch the arms in front and place the hands palm side down on the mat or extend them behind with palms facing up.
- Rest the forehead on the mat or a rolled-up towel in front of the knees.
- Hold the pose for 5–10 breaths.
Happy Baby Pose, or Ananda Balasana, stretches the spine, groin, hamstrings, and inner thighs. It helps open the hips and calm the mind.
To do Happy Baby Pose:
- Lie back, breathe out, and draw the knees toward the chest. Grasp the outer edges of the feet.
- Widen the knees and pull them up toward the armpits while aligning the ankles over the knees.
- Press the tailbone and shoulders into the ground. Flex the feet and press them into the hands while gently pulling the feet toward the floor.
- Remain in this position for 5–10 breaths.
Supine Spinal Twist, or Supta Matsyendrasana, helps lengthen the hip rotator muscles and relieves pain in the lower back, spine, and hip.
To do Supine Spinal Twist:
- From a sitting position, recline back until supine.
- Engage the core while bending the right leg and drawing the knee to the chest, letting the shoulders settle on the mat.
- Exhale and draw the right knee across the left side of the body while allowing the spine to rotate gently. Place the left hand on top of the right knee and rest the bent knee on the ground in line with the hips.
- Inhale and extend the right arm, palm side up, out to the side in line with the shoulder.
- Hold the pose for up to 10 slow breaths.
Restorative Goddess Pose, or Supta Baddha Konasana, helps reduce abdominal tightness and pelvic pain and balances the nervous system.
To do Restorative Goddess Pose:
- Place a bolster or rolled towel under the thighs, just below the sit bones.
- Use yoga blocks and cushions to make an inclined support.
- Lie back on the cushions so the spine and head are supported.
- Relax arms to the sides, palms facing up.
- Breathe deeply and hold the pose for 3–10 minutes.
Legs-Up-the-Wall Pose, or Viparita Karani, helps relieve lower back pain and tension while stretching the hip extensors.
To do Legs-Up-the-Wall Pose:
- Lie back in front of a wall with a blanket or small pillow supporting the head.
- Inhale and lift the legs to place the calves against the wall while flexing the feet toward the ceiling.
- Exhale while readjusting to bring the tailbone close to the wall and the body to a 90-degree angle.
- Stay in the pose for 3–10 minutes.
Reclined Hero Pose, or Supta Virasana, gently stretches the pelvis and abdomen and may help relieve discomfort and bloating.
To do Reclined Hero Pose:
- Kneel down with the insides of the knees together.
- Put the feet wider than the hips, with the tops of the feet resting on the floor and the big toes pointing toward the center.
- Sit the buttocks on the floor between the feet.
- Gently lean back using the elbows as support until the back rests on the ground.
- Rest the arms at the sides of the body at a slight angle.
- Hold the position for up to 1 minute.
Garland Pose, or Malasana, helps stretch and open the groin muscles, inner thighs, and lower calf muscles. It also helps strengthen the abdominal muscles.
To do Garland Pose:
- Start in a standing position with the heels slightly wider than hip-distance apart and the toes turned toward the sides of the mat.
- Exhale and slowly lower into a deep squatting position.
- Inhale while lengthening the spine and drawing the chest forward.
- Press the palms together and place the elbows inside the knees to create resistance.
- Hold the pose for 5–10 slow breaths.
Reclined Bound Angle Pose, or Supta Baddha Konasana, helps lengthen and release the groin muscles and relax the lower spine.
To do Reclined Bound Angle Pose:
- Gently lie back on the mat. Shift the buttocks to allow the lower back to melt into the mat.
- Inhale, bend the knees, and draw the feet together on the mat, pulling them toward the groin.
- Exhale and allow the knees to gently fall out to the sides toward the ground with the feet together on the mat.
- Rest the arms at the sides at a slight angle.
- Hold the pose for 30 seconds to 1 minute.
Yoga Nidra, sometimes called yoga sleep, is a deep relaxation technique. Practicing Yoga Nidra can help people with endometriosis reduce anxiety and depression.
To do Yoga Nidra:
- Lie flat on the back.
- Straighten the legs and arms, resting them on the floor with hands open, palms facing up, and ankles relaxing open.
- Take deep breaths and relax the muscles.
While in the pose, visualize relaxing each section of the body. For example, relax the right foot and then the ankle, and move up each section of the right leg. Then, repeat this with the left leg until each body part is in deep relaxation.
Yoga is a complementary therapy that may help relieve painful endometriosis symptoms. Practicing yoga can help reduce stress and promote relaxation while helping the abdominal and pelvic muscles relax.
Before starting a new yoga program, it is important for people to talk with a doctor.

